Updated: Oct-18-2021
Note: Below steps only cover standalone server installation on Ubuntu 18.04.
I am using Digitalocean VPC. Installation and it should be similar in AWS EC2 instances.
Make sure to open 8088,8089,80,443 TCP and 10000 -20000 UDP ports Open in your firewall..
git clone https://github.com/jaganthoutam/vicidial-install-centos7.git
cd vicidial-install-scripts
chmod +x vicidial-install-ubuntu18.sh
./vicidial-install-ubuntu18.sh
While installing Please enter below details:
#Do back to root Directory of vicidial cd .. perl install.pl #Fallow the setup with appropriate#Configiguration example
#Populate ISO country codes cd /usr/src/astguiclient/trunk/bin perl ADMIN_area_code_populate.pl #update the Server IP with latest IP address.(VICIDIAL DEFAULT IP IS 10.10.10.15) perl /usr/src/astguiclient/trunk/bin/ADMIN_update_server_ip.pl --old-server_ip=10.10.10.15 #Say 'Yes' to all
VICIDIAL processes run on screen. There should be 9 Processes running on the screen.
root@vici01:~# screen -ls

There are screens on:

 2240.ASTVDremote (03/21/2019 02:16:03 AM) (Detached)

 2237.ASTVDauto (03/21/2019 02:16:03 AM) (Detached)

 2234.ASTlisten (03/21/2019 02:16:02 AM) (Detached)

 2231.ASTsend (03/21/2019 02:16:02 AM) (Detached)

 2228.ASTupdate (03/21/2019 02:16:02 AM) (Detached)

 2025.ASTconf3way (03/21/2019 02:15:02 AM) (Detached)

 2019.ASTVDadapt (03/21/2019 02:15:02 AM) (Detached)

 1826.asterisk (03/21/2019 02:14:51 AM) (Detached)

 1819.astshell20190321021448 (03/21/2019 02:14:49 AM) (Detached)

9 Sockets in /var/run/screen/S-root.
All Set now. Now, You can configure web interface and logins.
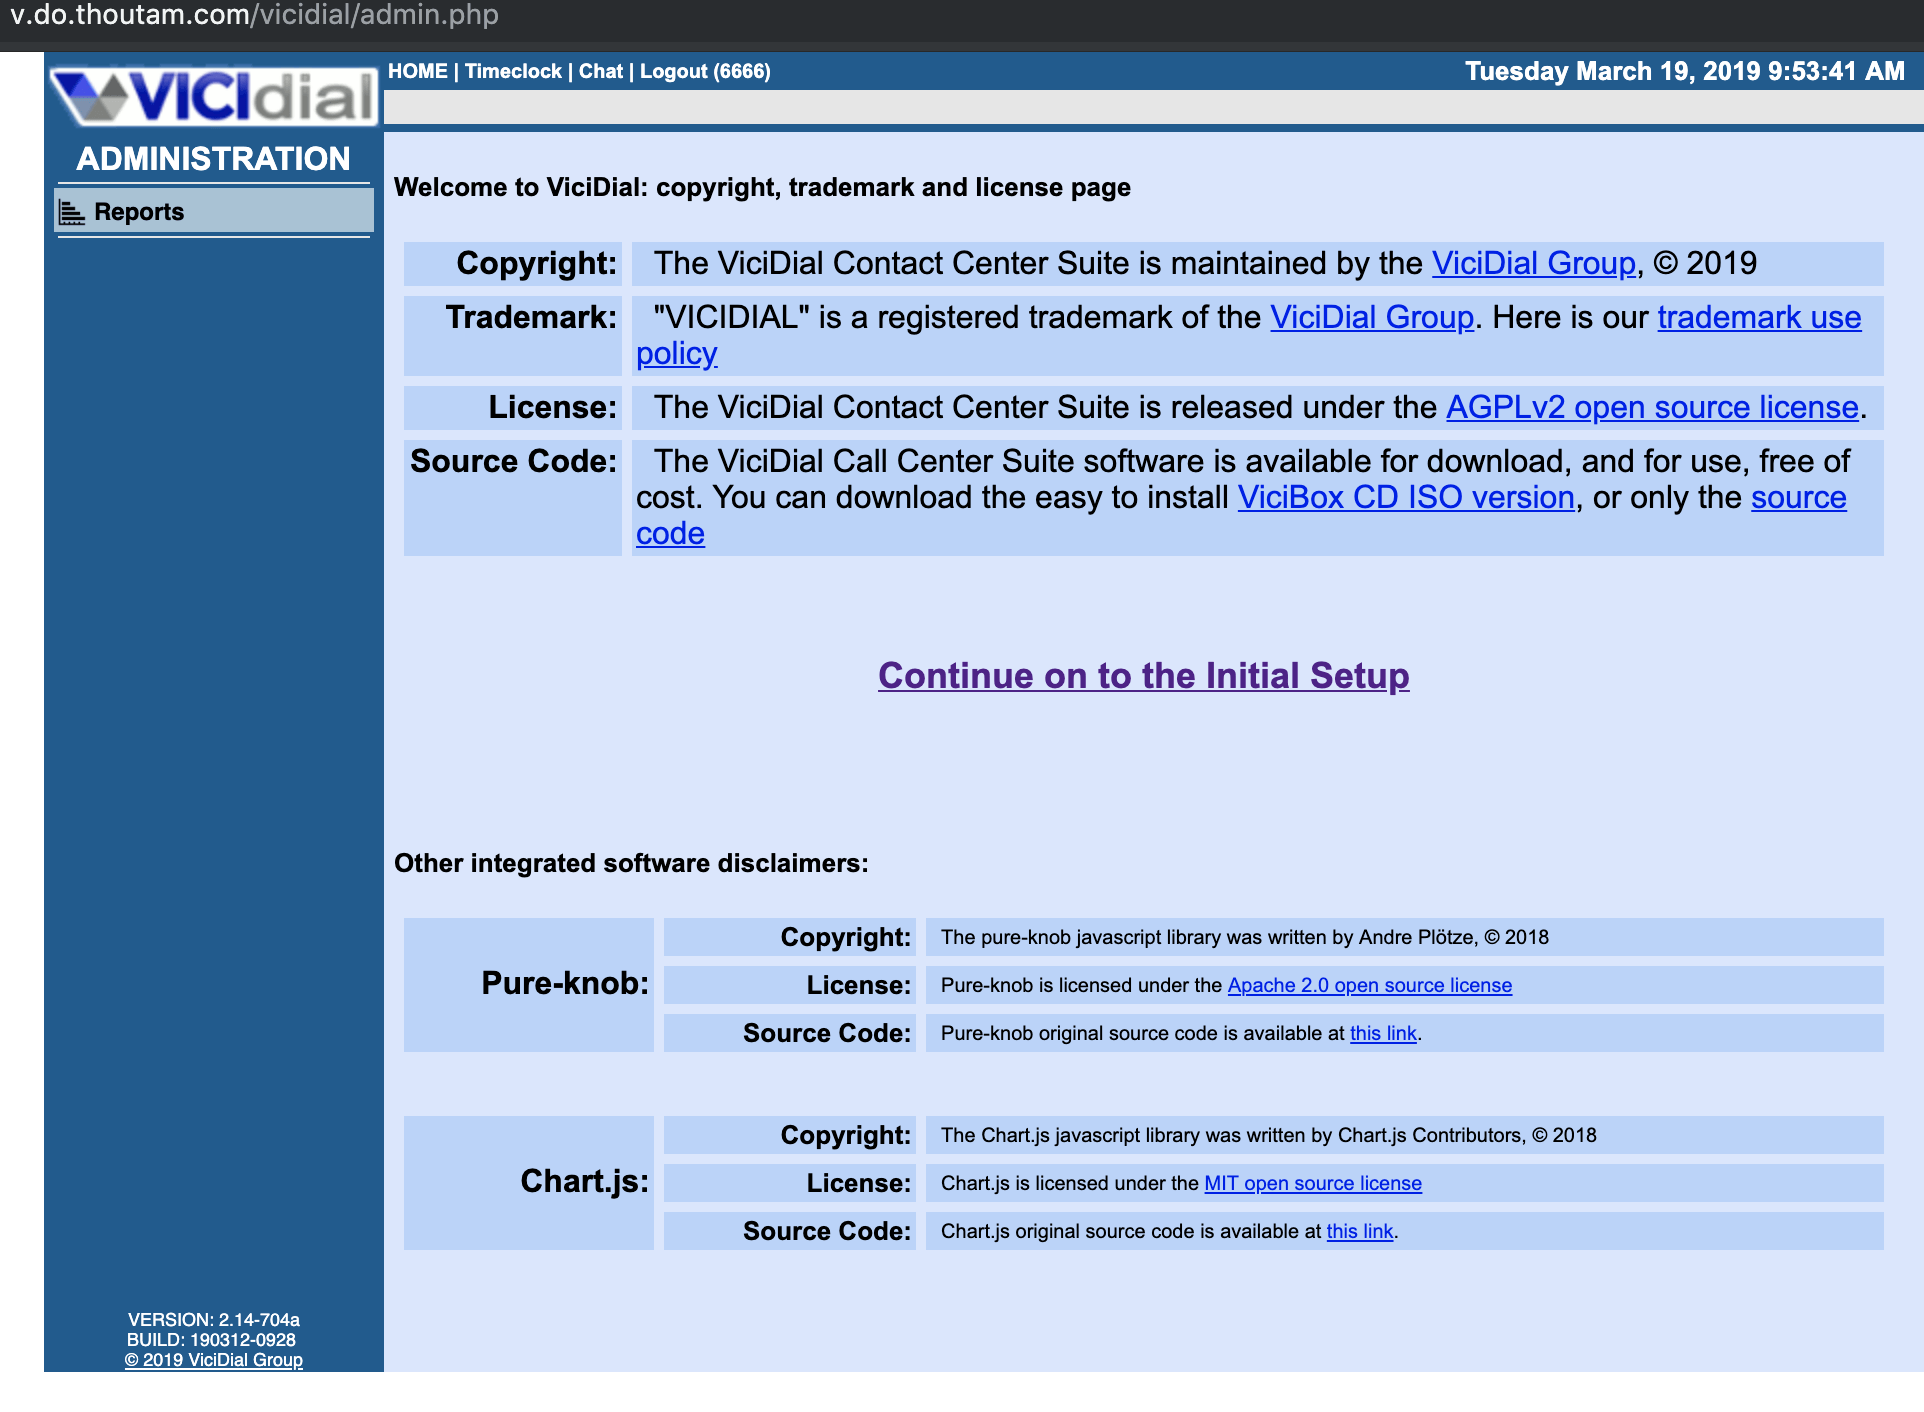
Vicidial Admin login :
http://VICIDIAL_SERVER_IP/vicidial/admin.php
user: 6666
Pass: 1234
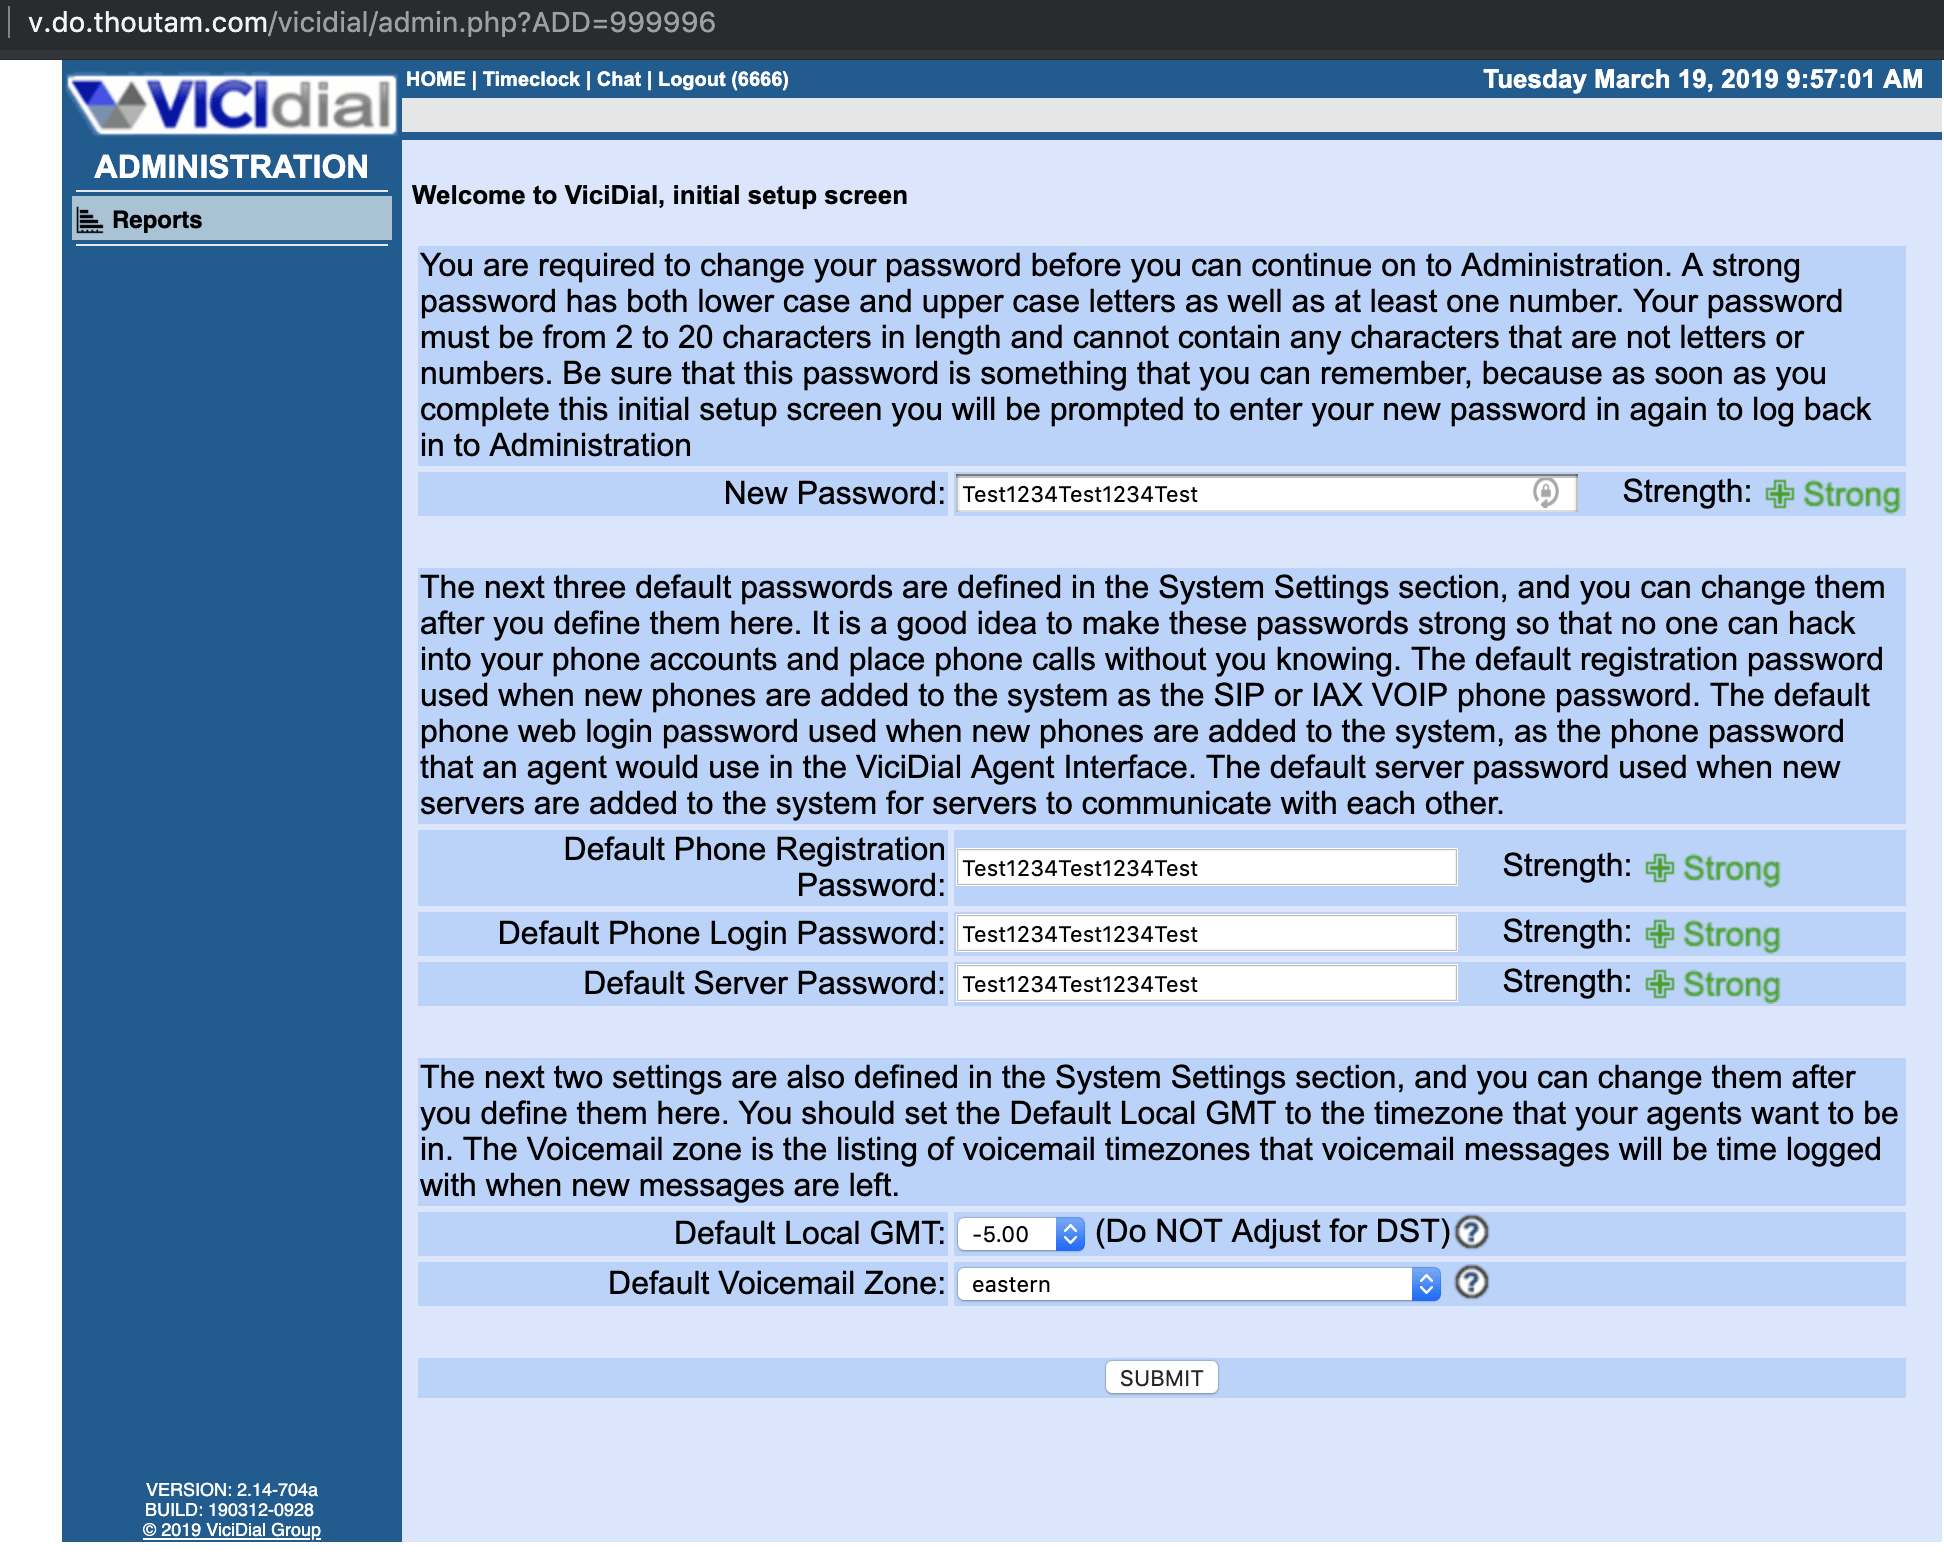
Continue On to the Initial Setup
#Add Secure Password for admin and SIP
#Give Super admin access to 6666 user
users —> 6666 –> Change all 0 to 1 in Interface Options.

For WebRTC we need to Run the below Script
chmod +x vicidial-enable-webrtc.sh
./vicidial-enable-webrtc.sh
#Next steps
1. Create Campaign
2. Create SIP Trunk
3. Create Dialplan
4. Upload Leads
5. Register Users to SopftPhone
6. Create Agents/users
Note: If WebRTC enable you don’t need softphone anymore.
………
And Enjoy…
Note: if you building the server for more than 30+ agents, I recommend to use bare metal servers than VPC.
Please let me know if you have any issues.